 |
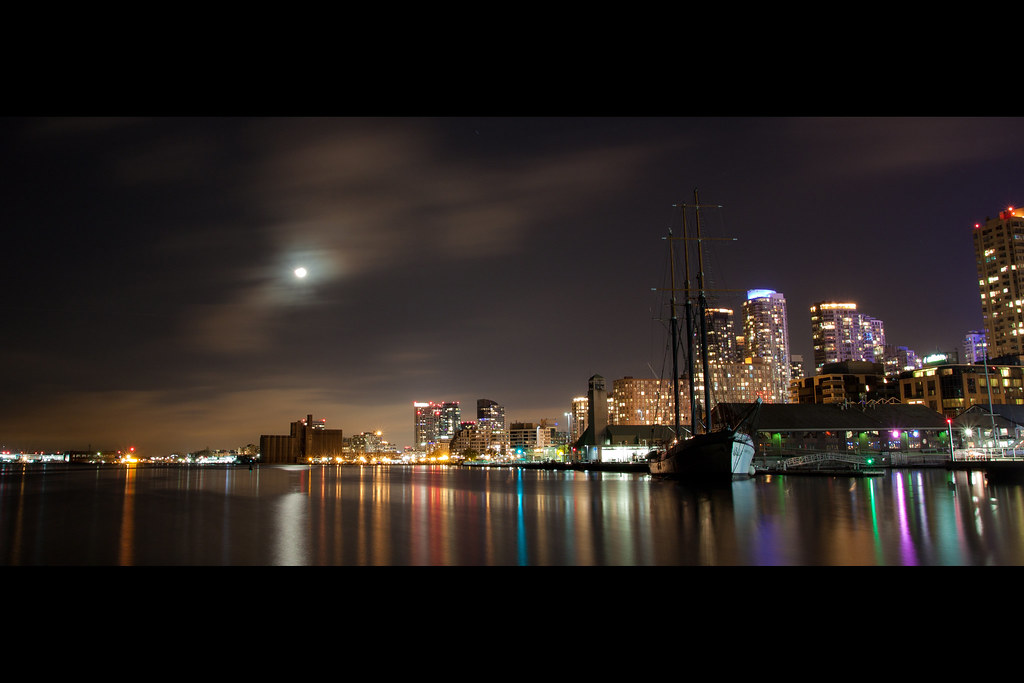
| ISO 100 17mm F/11 63sec - Tamron SP AF 17-50mm f/2.8 XR Di II LD IF |
I'm not bashing photographers that use manual or auto point and shoots, but what I'm saying is that it takes certain things that will make your photos seem more natural. Here is a photo that I took a while back, before I obtained my DSLR.
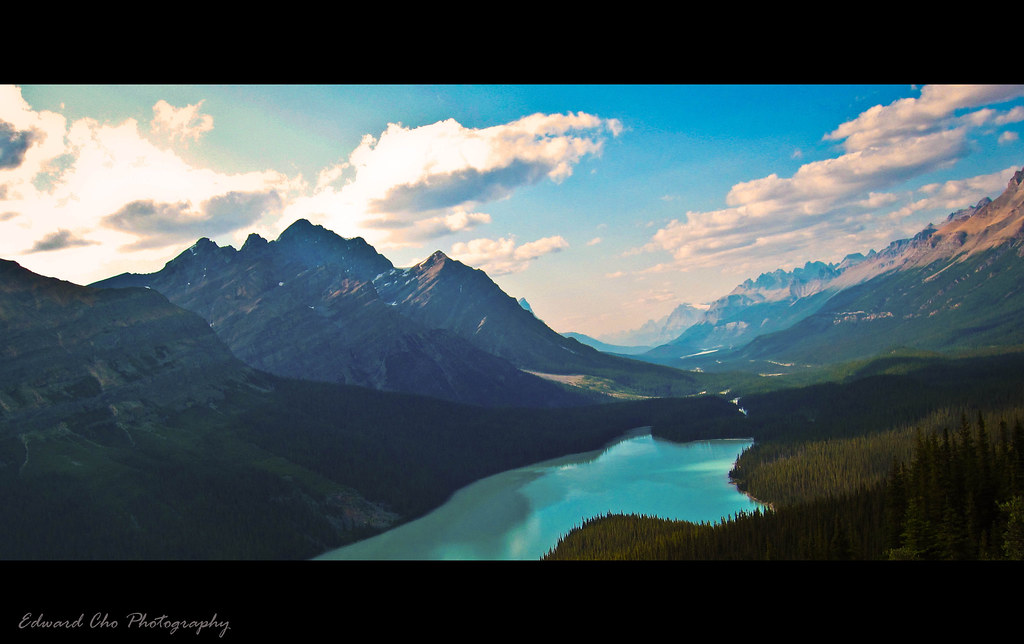 | ||
| ISO 80 F/5.6 5mm 1/250sec - Canon PowerShot SD880 IS |
As you can see here, it doesn't take a DSLR to take a decent photograph. All it takes is an eye for composition and camera.
"Wow!, I can take such photographs with a point and shoot? Why would I ever need anything else?"
The reason why you would need more gear to take landscapes is because you will not always have the same lighting as I had in the photo of Peyto Lake that is shown above. In landscape photography, the lighting will always be different, and the only way you will be able to take perfectly exposed photographs is to manipulate the light using filters, a tripod and a camera which allows manual control of ISO, the size of the aperture, and the shutter speed.
ISO- ISO is important because this states the light sensitivity of your camera's sensor or film. For landscape photos, using a low ISO (like ISO 100-200) would be best because in many landscapes, exposing your sensor for a longer period of time may produce amazing results. Also, another reason is because of the level of sharpness. The lower the ISO, the sharper it is because there is less noise. Noise is the grainy stuff that you will notice when you take photographs in dark environments with a fast shutter speed (Noise isn't as aesthetically pleasing as film grain).
Aperture- Aperture controls the amount of light that reaches your sensor/film. It also controls the depth of field (DOF) of your photo. Depth of field is the area of your photo that is in focus. The larger the aperture, the less DOF, the smaller the aperture, the more DOF. A smaller aperture also sharpens your photograph! So that's a plus. Though make sure you don't make the aperture too small, or you will be able to see dust on your sensor, and your photos will lose sharpness!
*Note: The larger the aperture, the smaller the F-stop, the smaller the aperture, the bigger the F-stop. (F-Stop is scale used to represent the size of the aperture ex: F/2.8). If it's hard to understand, think of it this way. If F=Focal Length, the aperture size is equal to Focal Length divided by the number. If the number increases, the focal length is divided even MORE because it is divided by a larger number, therefore, the size is smaller. For example: If F= 50, 50mm/2.8 = 17.8, 50/8=6.25. This is why math is essential to take photos!
Shutter Speed- Shutter speed is important because changing the shutter speed will change your photo drastically. With a fast shutter speed, everything will be still, but with a longer shutter speed, you will notice the motion of things like the clouds, the water and grass. The shutter speed also controls the amount of light going through the lens, therefore, it is essential to use a proper shutter speed to perfectly expose your photograph.
Filters- Filters used in landscape photography are usually Neutral Density (ND) Filters and Polarizers. Neutral Density Filters are used to decrease the light going through your lens. This is used to allow a longer shutter speed in situations where there is too much light. There are also Graduated Neutral Density Filters (GND), which are used to only decrease the light from the sky because usually if you expose the sky correctly, you will underexpose the foreground, and if you expose the foreground correctly, you will overexpose the sky. These GND's require a filter holder system that holds rectangle filters, rather than the traditional circular filters.
Tripod- You must have a tripod to take long exposures. If not, then your photograph will be VERY blurry.
Alright that's about it for the basics. It might be a lot to take in, but through experience, you will get used to it. Experience is the key to taking great photographs! Don't think that you will take great photos with just knowledge about the basics. Go out and shoot, because you will encounter unexpected situations where you will be required to put all this knowledge into one photo. Here is an example:
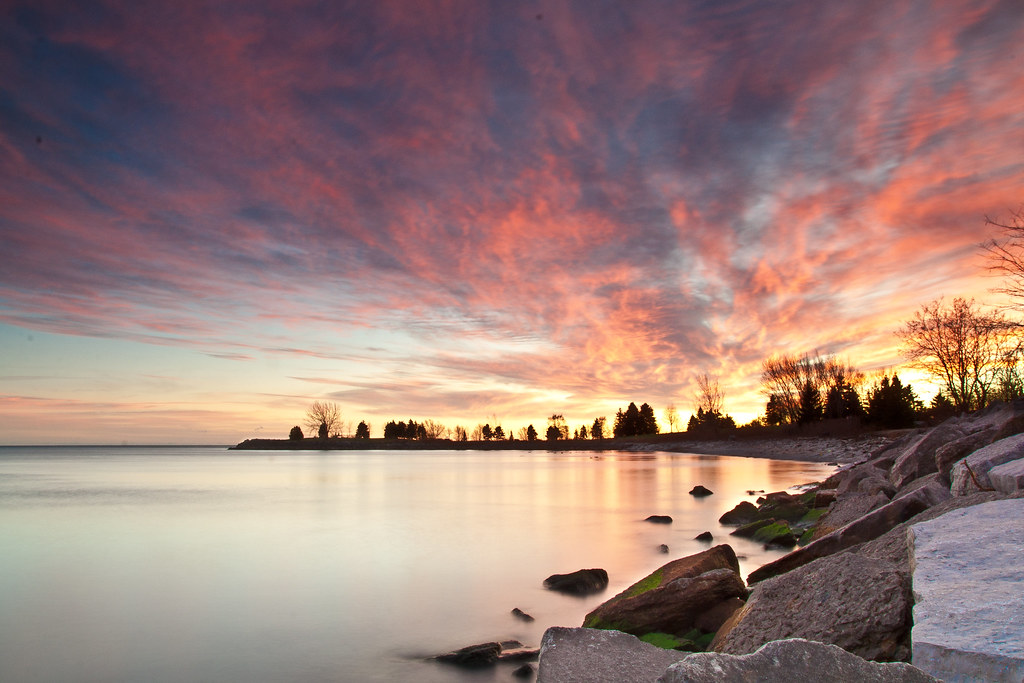 |
| ISO 100 F/29 8sec 17mm - Tamron 17-50mm 2.8 Non-VC w/ Cokin P.121 Graduated ND Filter |
I will make more posts on landscape photography and other tips in the near future! If you would like to keep up with the blog, please subscribe by typing in your e-mail into the box on the top right of the blog. Thanks!
If you have any questions, please leave it in the comments below!
No comments:
Post a Comment